Moving Personal / Archive Emails to Office 365
Why would I want to move my email from my Personal / Archive folders to Office 365 email?
Email in Office 365 is in the cloud and can be accessed from any device that Office 365 runs on. Personal / Archive folders (pst files) can only be accessed from the desktop computer on which they reside.
Moving your email is likely to take some time. Please plan accordingly. If the folders are large, you may get a message to restart Outlook.
There are two methods to move your Personal / Archive folders (pst files) into Office 365 email:
Simply Drag and Drop individual folders (or emails) one at a time from your Personal / Archive folders (pst files) to your desktop Outlook Inbox OR you can right-click on a folder, select ‘Move Folder’, select the target folder, then click OK.
These new Outlook folders will then show in your Office 365 email:
- If moved to the Inbox, and there is no folder with the same name, it will create a new folder
- If moved to the Inbox, and there is a folder with the same name already, it will create a second folder named subfolder (2)
- If moved to a subfolder with the same name, it will create an additional subfolder under it with the same name
- Will import the entire Personal / Archive folder to Office 365
- Will merge the emails into a folder with the same name OR will create a new folder if no folder with the same name exists
The Personal / Archive folder (pst file) cannot be in use during this process. If it is (you can see it on the left side of your Desktop Outlook), follow these steps to remove it from use:
How to find the name and location of your .pst file:
- Right click on your Personal Folder or Archive folder, select Data File Properties, Advanced button.
- Look at the file location - that will contain the location and the actual filename.
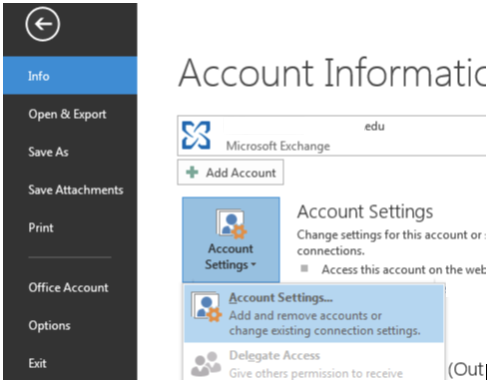
In Outlook (on your computer), click the File tab, select Account Settings, Account Settings.
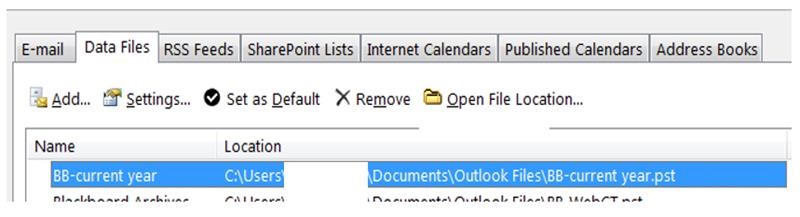
Select the Data Files tab
Select the .pst file that you want to move, and click the Remove button, then Yes to confirm
Close Outlook and reopen it. The Personal / Archive folder (pst file) should no longer show on the left side.
In Outlook (on your computer), click the File tab
Click Open, then click Import.
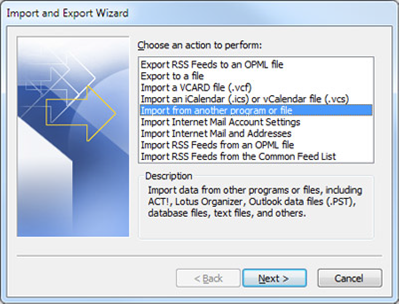
In the Import and Export Wizard, click Import from another program or file, and then click Next.
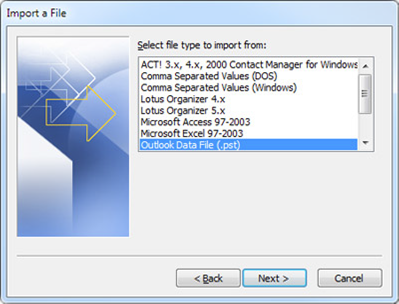
Click Outlook Data File (.pst) you want to move, and then click Next
Click Browse, and then choose the .pst file to import
Choose a duplicate option (if unsure, select ‘Allow duplicates to be created’)
- Replace duplicates with items imported - Existing online email will be overwritten with any duplicates from your Personal / Archive folder.
- Allow duplicates to be created - Existing online email will not be overwritten, and any duplicates from your Personal / Archive folder will be added.
- Do not import duplicate items - Existing online email will be kept, and any duplicates in your Personal / Archive folder will not be imported.
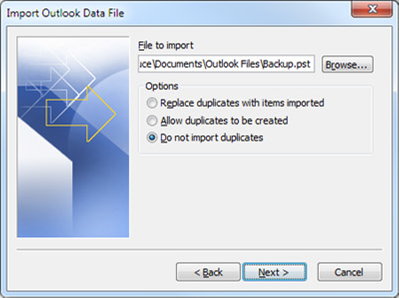
Click Next
Note: If you protected your Personal / Archive folder (pst file) with a password, you will be prompted for it.
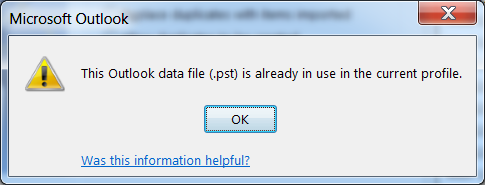
If you get the message ‘This outlook data file is already in use’, go back to Step 1 to remove the Personal / Archive folder (pst file) from use:
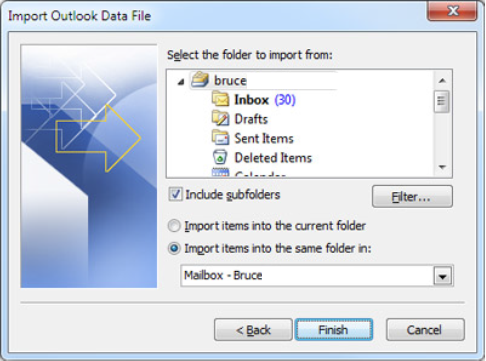
Select Import options and Click Finish:
- The top folder (usually Personal Folders, Outlook Data File, or your email address) is selected automatically.
- Checking 'Include subfolders' means all folders under the folder selected will be imported.
- Select 'Import items into the same folder in'. This is the option that matches the folders from your Personal / Archive folder (pst file) with the folders in your target folder. If a folder doesn't exist in your target folder, it will be created.
8800 Grossmont College Drive
El Cajon, California 92020
619-644-7010
Accessibility
Social Media Accounts


