Special Features
How to use...
An Impact Image will display on the top of the page between the top navigation area and the breadcrumbs bar. Impact Images are optional.
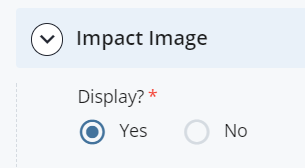
1. To insert an Impact Image, open the page you would like to edit and select the Edit button. Scroll down and click on Impact Image. Select Display = Yes.
Note: Your Impact Image should be 1150px wide by 250px high.
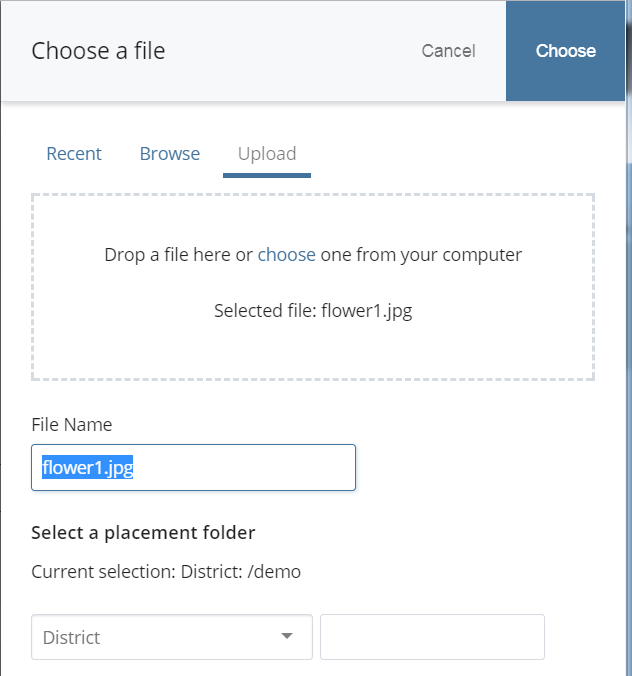
2. Locate the image you would like to use and select it. For detailed instructions on how to upload photos please see our other tutorials. Make sure the placement folder displayed as 'Current selection' shows the folder where you want the image stored. If not, use the field below that to select the correct folder. Click the Choose button to add your image.
3. You must enter Image Alt Text (a short description for users who cannot see the image) if you are adding an Impact Image.
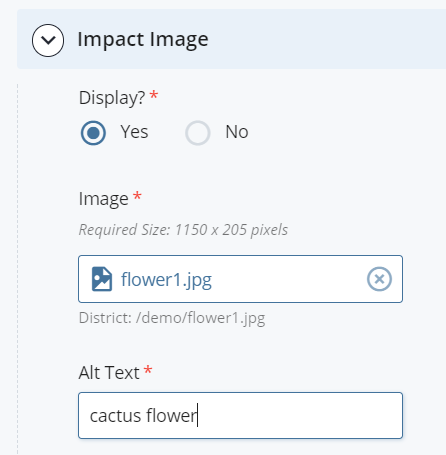
4. Click the 'Save and Preview' button to save your image in your page.
5. After you have completed editing your page don’t forget to click Submit.
![]()
6. When you are ready to publish your page, select the Publish button.
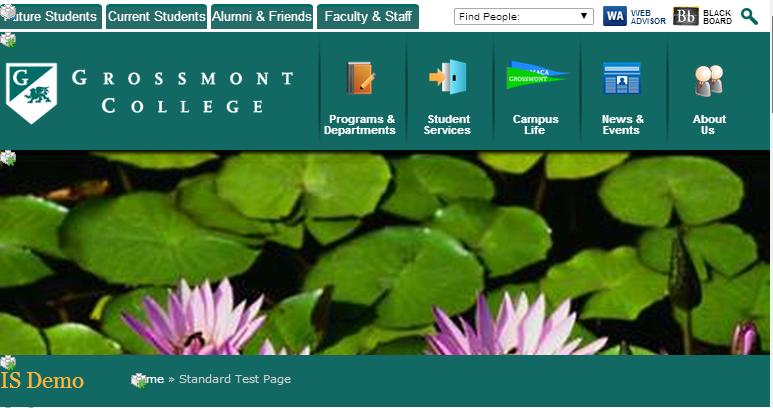
With an Impact Image, your page will display with the image between the top navigation area and the breadcrumbs bar:
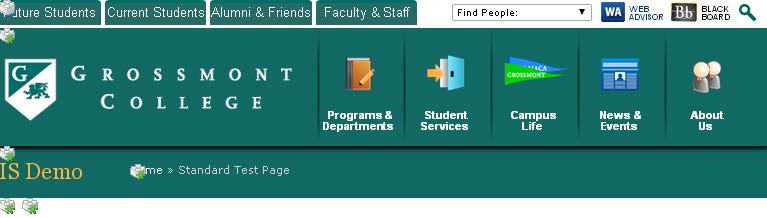
Without an Impact Image, the breadcrumbs bar will display directly below the top navigation area:
This option is currently available for the college websites. The Left Column section of your page gives you the option to display contact information or a call to action button for
those who visit your page.
This block of content can be controlled by one of two methods:
- By default, all pages will display the contact information from the folder’s default homepage.
- On each individual page, you can override the default settings and display different contact information.
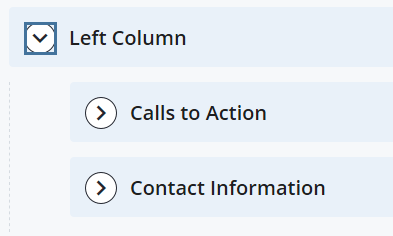
1. To add these options to your left column open the page you wish to edit and select the Edit button. Scroll down to Left Column.
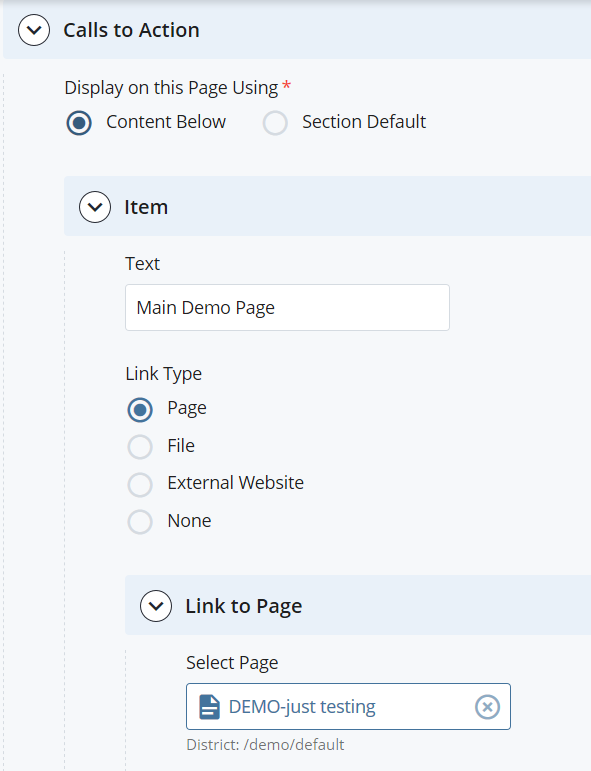
2. The Calls to Action option allows you to add a button link to a page on your site, a file or and external website.
- Select Content Below if you want to display the information on this individual page.
- Select Section Default if this is the page named 'default' in your folder and you want it displayed on all the pages in this folder.
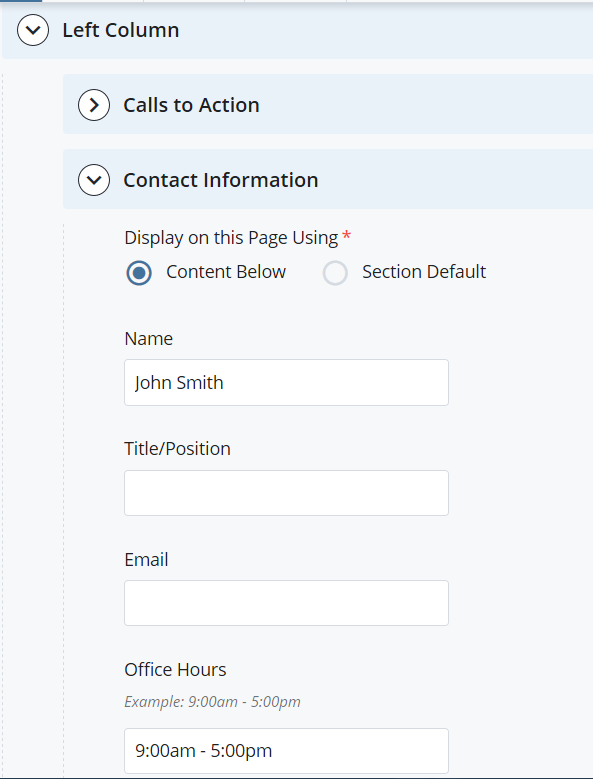
3. The Contact Information option will allow you to insert your contact information onto your page.
- Select Content Below if you want to display the information on this individual page.
- Select Section Default if this is the page named 'default' in your folder and you want it displayed on all the pages in this folder.
4. Once you have completed adding content to your Left Column click Save and Preview.
5. After you have completed editing your page don’t forget to click Submit.
![]()
6. When you are ready to publish your page, select the Publish button.
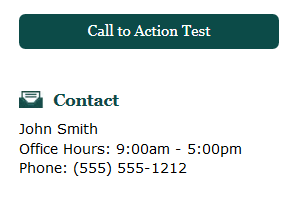
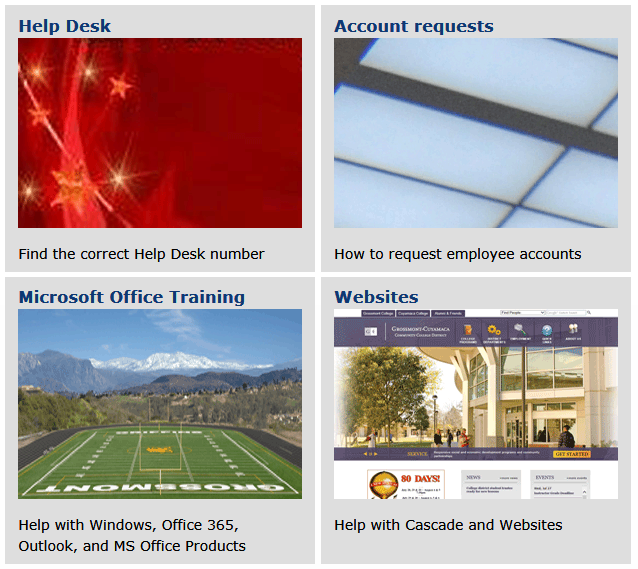
Example of a Call to Action button followed by Contact Information:
Accordions allow you to add an unlimited number of links and associated content. When this area is generated, a user will be able to click on the link, and it will expand to show the associated content.
1. Open the page you would like to add an accordion to, and select the Edit button.
2. Scroll down and select Supplemental Content and then Accordion. You must indicate if you would like your accordion to be displayed on the page by checking Display = 'Yes'.
Note: The 'No' option is useful to check after editing your accordions when you do not want them to be displayed right away. You may change this option at any time.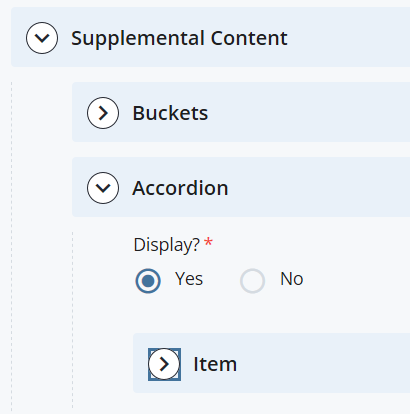
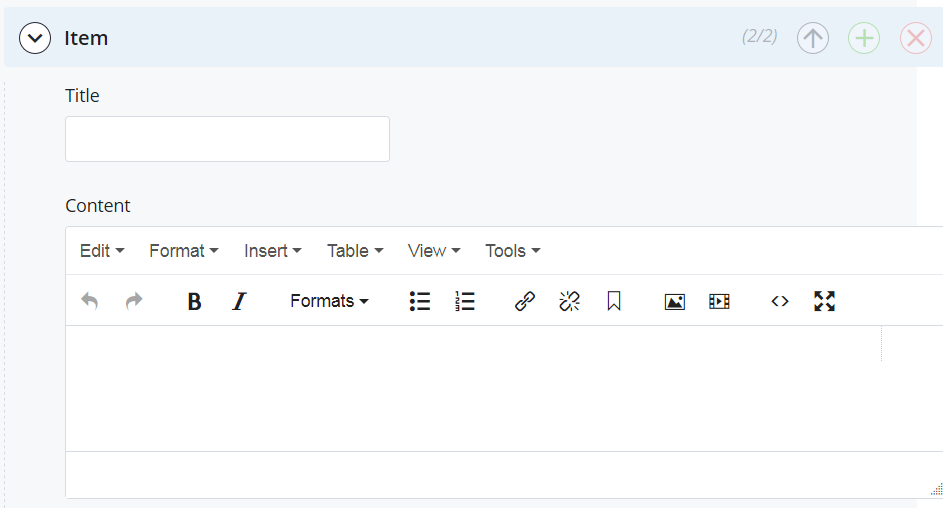
3. Adding content to an accordion is similar to adding content to the main section of your page. You can add text, images, links etc.
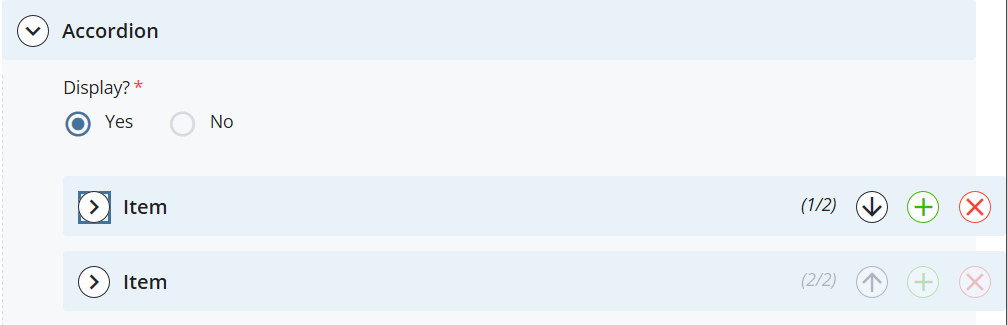
4. The display will show you how many accordions you have on your page.
- You may add more than one accordion to your page. Simply select the green plus sign on the right hand side.
- To delete an accordion select the red X sign on the right hand side.
- You may also change the order in which your accordions will be displayed by selecting the up/down black arrow.
5. Once you have completed adding content to your accordion click Save and Preview.
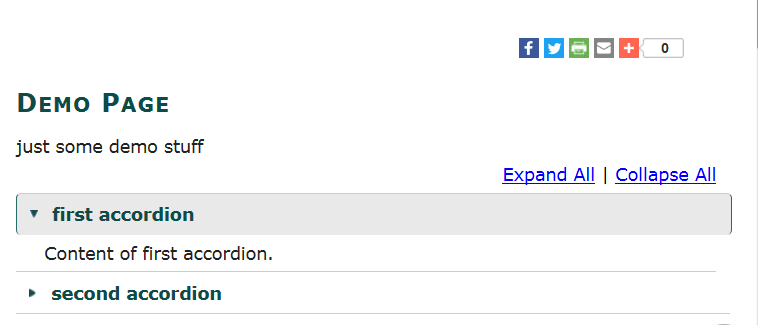
6. The content will appear below the accordion heading if you click on it.
8. After you have completed editing your page don’t forget to click Submit.
![]()
9. When you are ready to publish your page, select the Publish button.
A Bucket allows you to add a block of content below the main content area, which can contain a title, image, caption text, and optional link.
1. Open the page you would like to add a bucket to, and select the Edit button.
2. Scroll down and select Supplemental Content, then Buckets.
You must indicate if you would like your bucket to be displayed on the page by checking Yes or No.
Note: The 'No' option is useful to check after editing your buckets when you do not want them to be displayed right away.
You may change this option at any time.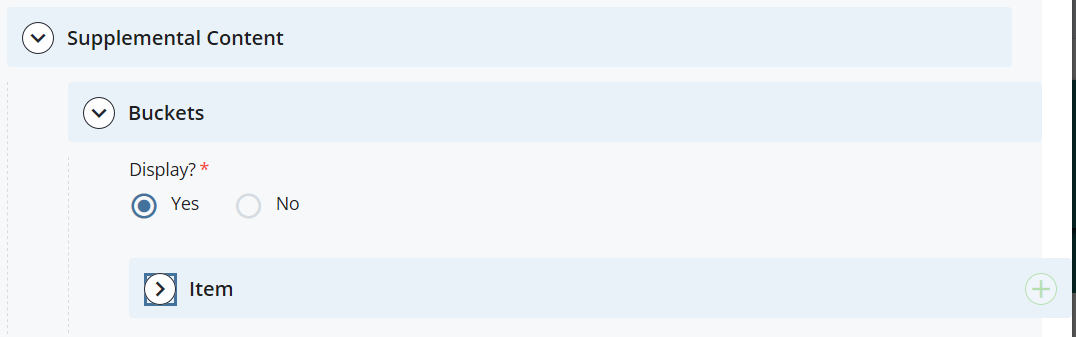
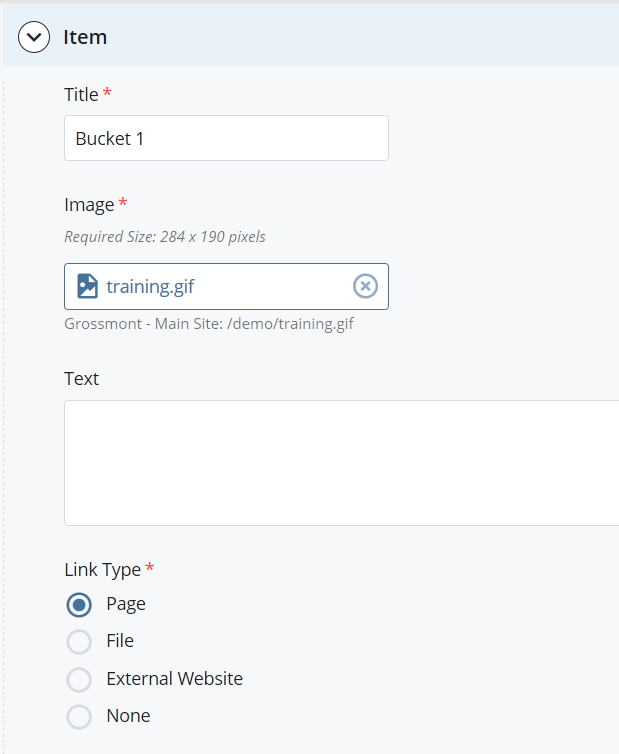
3. Add a Title, Image and a Link (please see our other tutorials if you are unsure how to insert photos or link to another page). This link may go to either an internal link on the website, or an external link that is outside of your website. You may also add text that will display under the image.
Note: It is strongly suggested that your bucket images are the same size if you are adding more than one bucket.
4. The display will show you how many buckets you have on your page.
- You may add more than one bucket. Simply select the green plus sign on the right hand side.
- To delete an accordion select the red X sign on the right hand side.
- You may also change the order in which your accordions will be displayed by selecting the up/down black arrow.
![]()
5. Once you have completed adding content to your bucket click Save and Preview.
6. After you have completed editing your page don’t forget to click Submit.
![]()
7. When you are ready to publish your page, select the Publish button.
Note: Colleges may also add videos in the right column using widgets. For guidance on how to add videos using widgets please see our other tutorials on Right-Side Widgets.
To add a video to the main column or sidebar content:
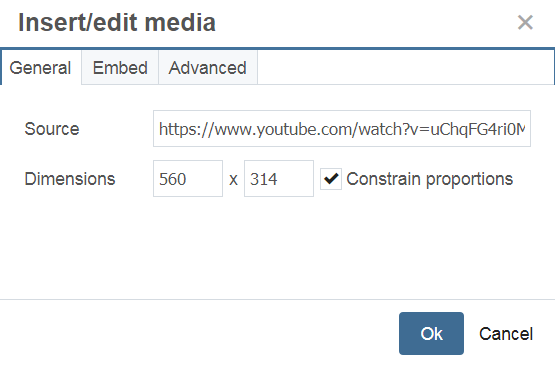
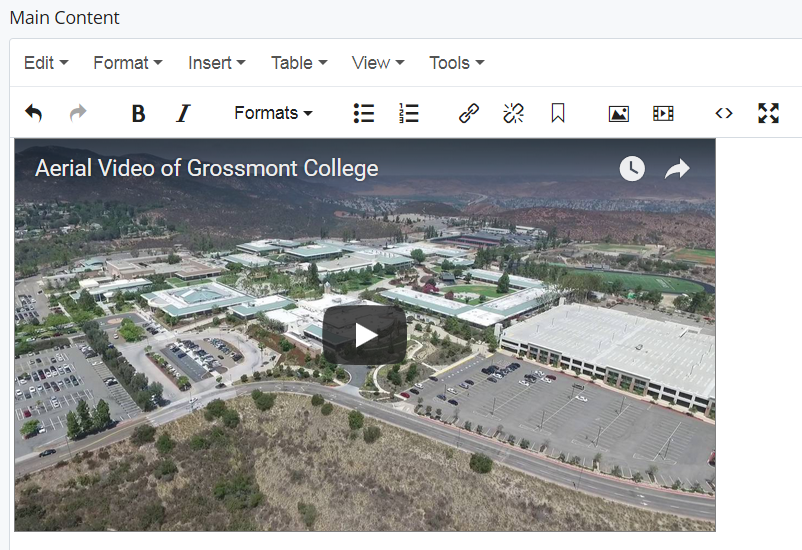
1. Select the page you wish to add the video to and go to the Edit button. In the Main Content area toolbar, select the Insert/Edit Media icon.

2. Enter the URL for the video you wish to embed on the General tab in the Source field. You can also change the dimensions. Then click OK.
3. You will see the video appear in your content area.
4. Once you have completed adding your video click Save and Preview.
5. After you have completed editing your page don’t forget to click Submit.
![]()
6. When you are ready to publish your page, select the Publish button.
You must have a Google account to create and use a Google form.
Google provides information on How to use Google forms.
Once you have created the form, you can embed the form on your page.
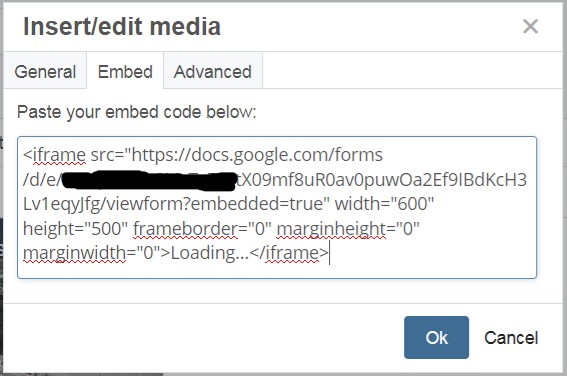
1. In the Google Send form window, select the html icon (it looks like < > ) and copy the Embed HTML code. You will want to change the width to about 500-600px.

2. In your Cascade web page, select where you would like to insert the form. Select the Insert/Edit Media icon.
3. Select the Embed tab and paste the embed code you copied from the Google Send Form window. Click OK.
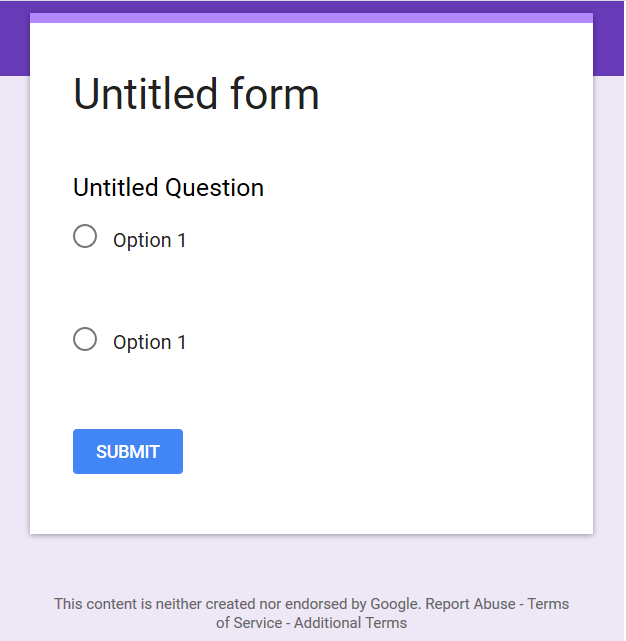
4. Once you have completed adding the Google form click Save and Preview.
5. You will see your form displayed.
6. After you have completed editing your page don’t forget to click Submit.
![]()
7. When you are ready to publish your page, select the Publish button.
8. It is important to check your page to make sure it is accessible. The WAVE Web Accessibility website is a good place to check your page.
You have the option to insert a location on your page using Google Maps.
1. To add this option, open the page you wish to edit and select the Edit button. Scroll down and click on Google Maps. Select Yes under Display.

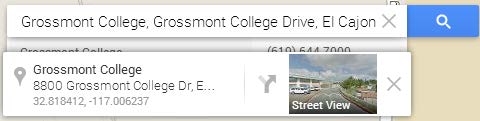
2. You must fill out each required field. To find the Latitude and Longitude open Google Maps and enter the location.

3. Right click anywhere on the map and select What’s Here?
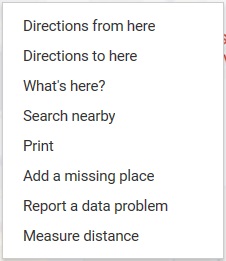
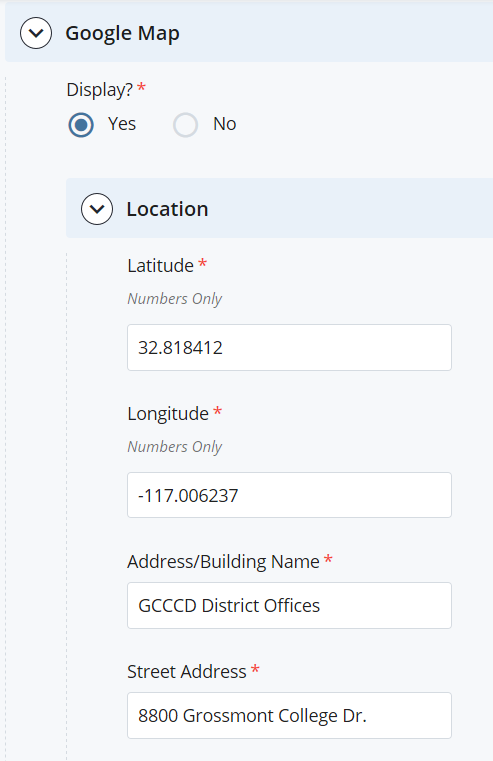
4. The coordinates will then pop up. In the example below, the Latitude is 32.818412 and the Longitude is -117.006237. Notice the Longitude is a negative number.
5. Enter the coordinates in Cascade along with additional fields in the Cascade Google Maps window.
6. Once you have completed the Google Maps information click Save and Preview.
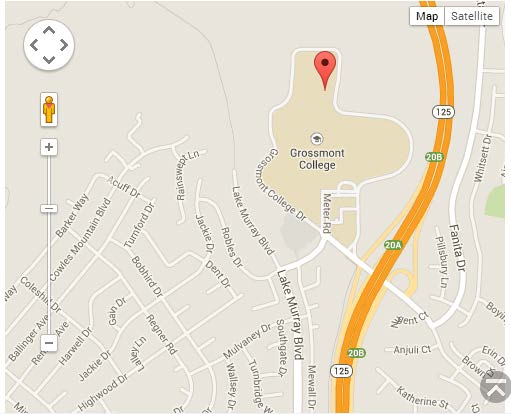
7. You will see the Google Map in your content area. Note: If the map looks blank, you may need to zoom out to see the details.
8. After you have completed editing your page don’t forget to click Submit.
![]()
9. When you are ready to publish your page, select the Publish button.
The Last Updated Date option will show when your webpage content was last updated. Usually you will want this date to show so users know the information is current. If you have a web page with static information that you anticipate will never change, you may not want to display this field so it doesn't display an old date.
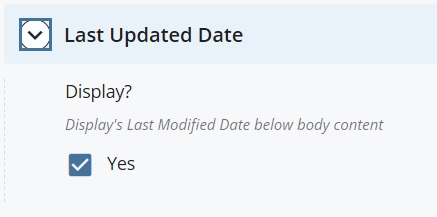
1. Open the page you would like to edit and select the Edit button. Scroll down to Last Updated Date and click on it.
2. If you would like for the Last Updated Date to display on your webpage check Yes. Otherwise, uncheck it.
3. Once you have completed editing your Last Updated Date click Save and Preview.
4. After you have completed editing your page don’t forget to click Submit.
![]()
5. When you are ready to publish your page, select the Publish button.
6. If you selected Yes that you wanted the Last Update Date to display, it will show below your content area.
![]()
The Standard Page Template allows you to have an additional column on the right side of the web page.
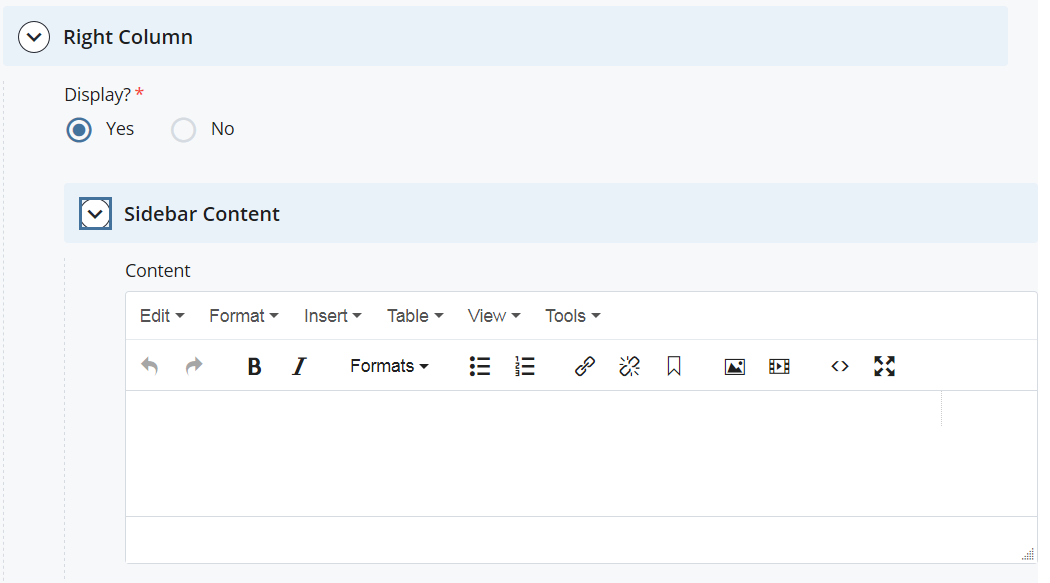
1. To change the number of columns on your page open the page you would like to edit and select the Edit button. Scroll down to the Right Column option and click on it.
2. If you would like an additional right column on your page, click Yes under Right Column, Display. If you would like to cancel a right column, click No.

3. Click on Sidebar Content, and add your information to the Content area. Note: For colleges only, you can also add widgets. See the Right-Sidebar Widgets tutorial for more information.
4. Once you have completed adding sidebar content, click Save and Preview.
5. After you have completed editing your page don’t forget to click Submit.
![]()
6. When you are ready to publish your page, select the Publish button.
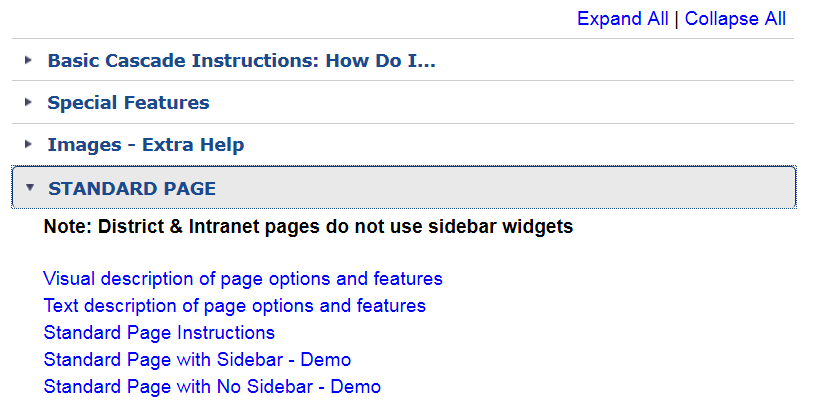
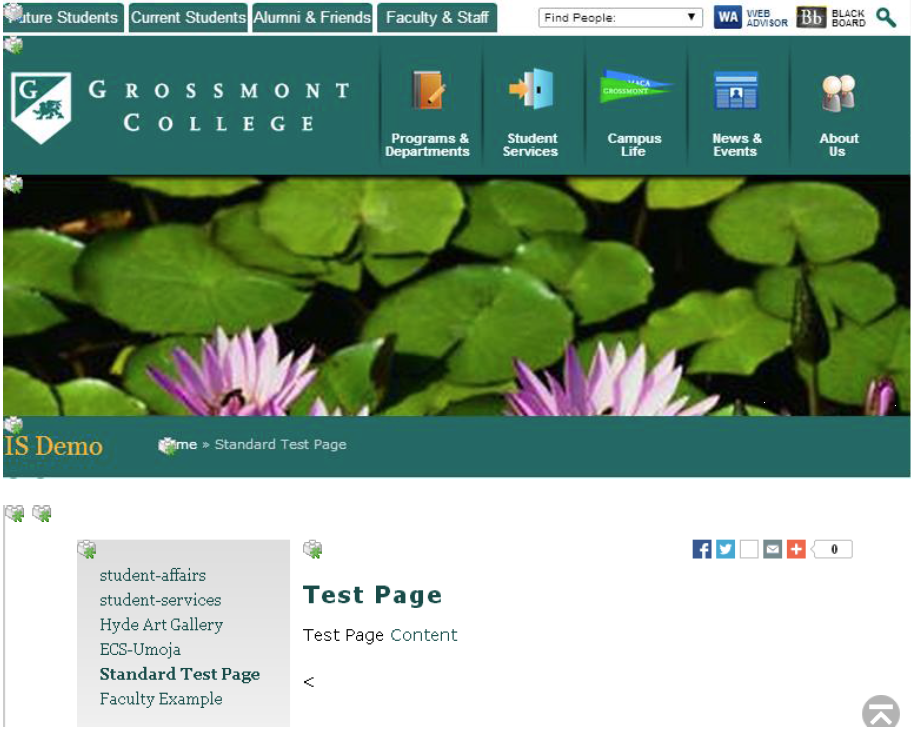
Example of page with no right sidebar:
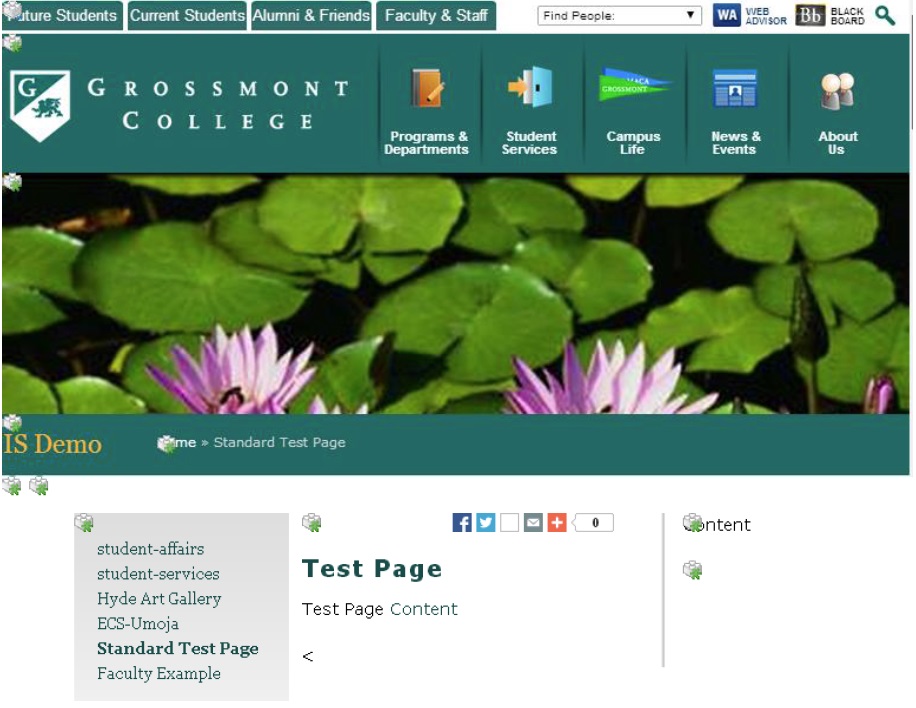
Example of page with a right sidebar:
If you are editing a college web page, you may add a variety of widgets to the right column of your page. A Widget is a block of content that, when created, can be inserted into pages that contain a right column. A single widget can be used in multiple places. When updated, the widget file will be published, and all pages calling that file will be automatically updated.
All widgets are located in the following folder: /widgets
NOTE: This section deals with creating, editing, and deleting widgets. For instructions on how to insert an existing widget into a page’s right column, see Right Sidebar-Widgets Part 2: Inserting into Pages.
You must first create the widgets you would like to use as separate pages and then insert them or link to them. Once you have created the widget page, you can use it on more than one page if desired.
1. Select the folder area where you wish to add the widget. Select the Add Content menu and then select Widgets.
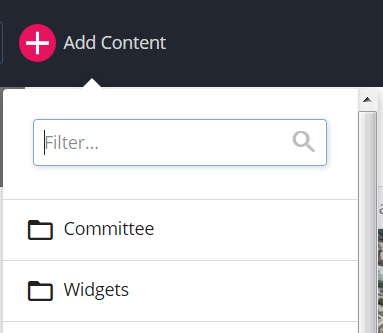
The types of widgets that are available are: Content, Events, Faculty, Image, Links, RSS, and Video. Click on the type you wish to create.
- Adding a Content Widget is similar to adding content to the main section of your page. You can add text, images, links etc.
- An Events Widget will allow you to pull events from an existing Calendar, or one you create. For detailed instructions on how to create a calendar please see our other tutorials.
- A Faculty Widget allows you to add contact information for faculty from a particular department. Simply select the department you wish to display from the drop down menu.
- An Image Widget allows you to add an image to your right column. For instructions on how to upload and add images please see our other tutorials.
- The Links Widget allows you to add links to an internal page on your site, a file or an external web site.
- The RSS Widget allows you to link to an RSS feed, such as Twitter. Simply enter the URL of the RSS you wish to display.
- The Video Widget allows you to insert a YouTube video in the right column. Enter the Video Title, a Video Thumbnail (this requires the same process for uploading and inserting an image) and The YouTube Video ID (the last 11 digits in the video URL).
2. Add a Page Name that will make sense to you - maybe something like 'content-widget-dept-hours'. Complete the information requested in the widget window.
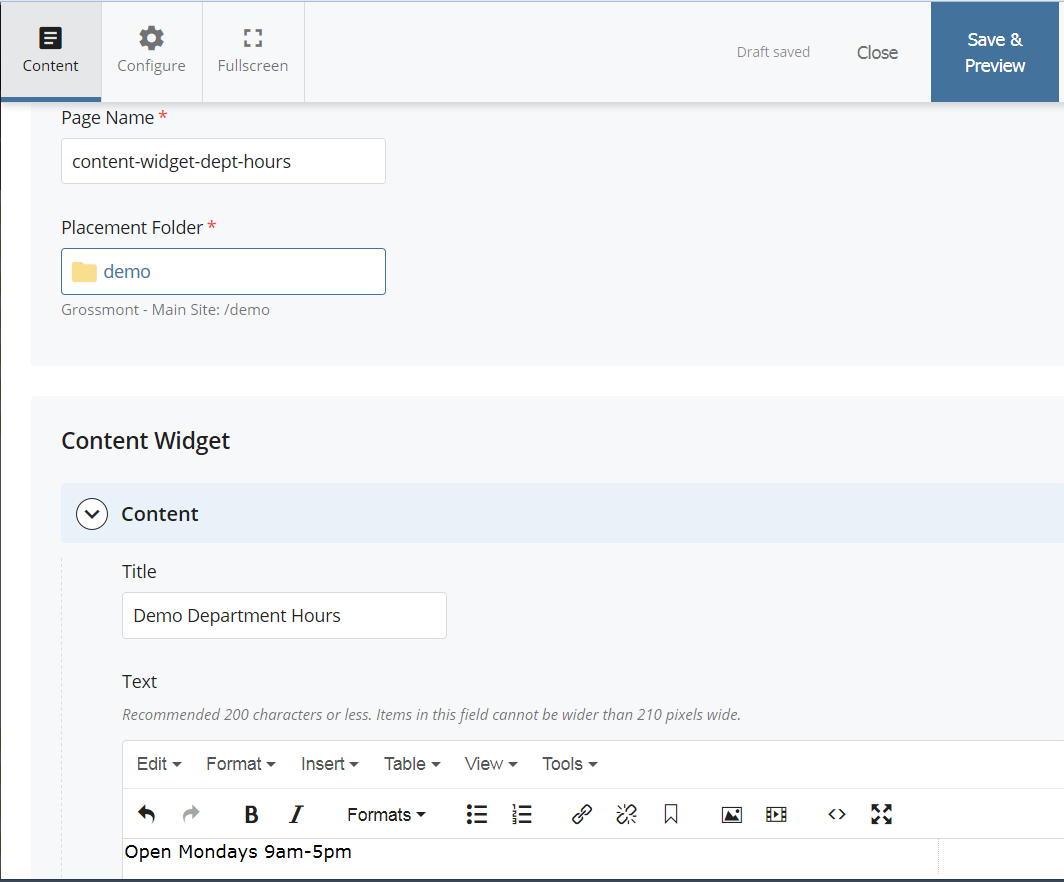
3. Once you have completed entering information for the widget, click Save and Preview.
4. After you have completed editing your widget don’t forget to click Submit.
![]()
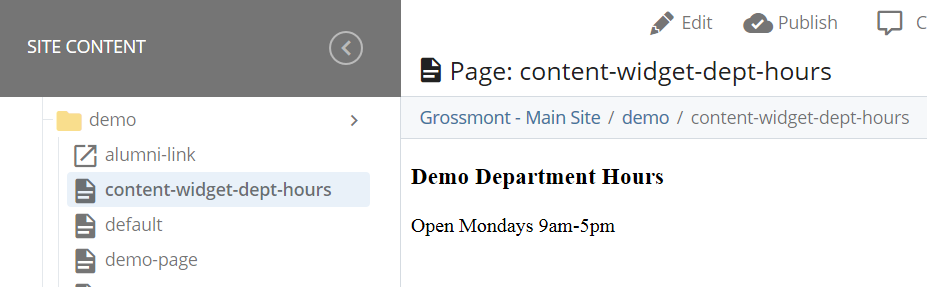
5. You will see your widget page in your folder. You can now use the widget in your pages. See the tutorial on Right Sidebar-Widgets Part 2: Inserting into Pages.
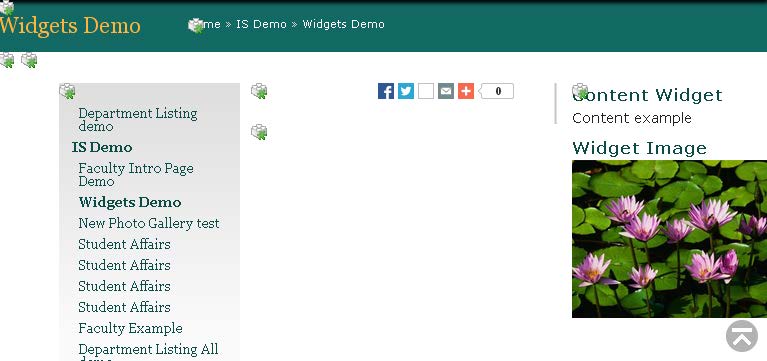
Below is an example of how a Content Widget and an Image Widget could look in the Right Column:
If you are editing a college web page, and have created your Widgets (see the tutorial Right Sidebar-Widgets Part 1: Creating), you may add a variety of widgets to the right column of your page.
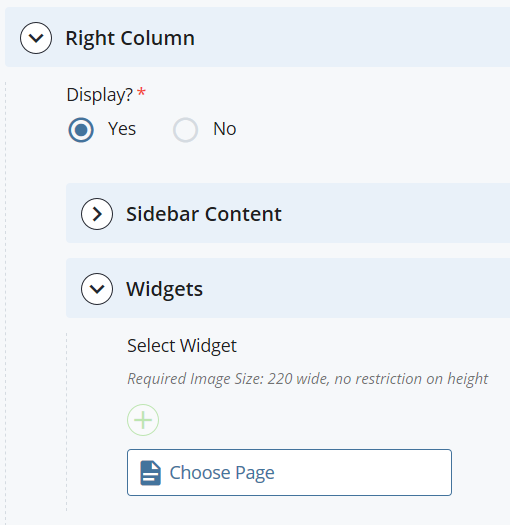
1. Select the page you wish to edit and click the Edit button. Scroll down to the Right Column option and click on it. Click Yes under Right Column, Display.
2. Click on the Widgets option. Widget types include content, events, rss, image, links, faculty, and video.
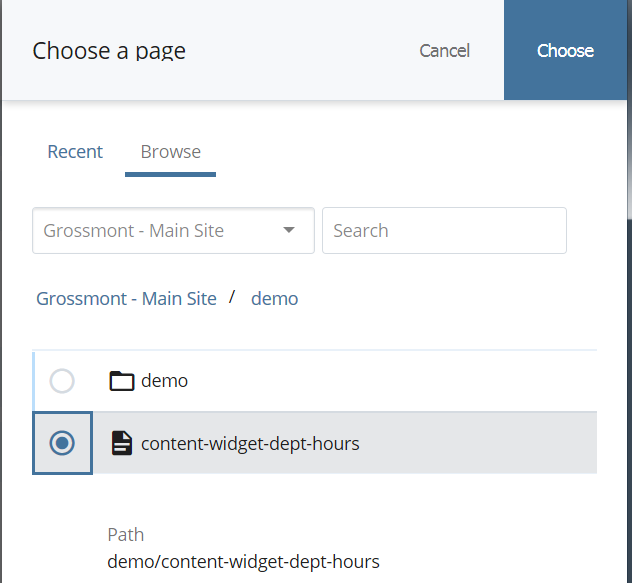
Click on the Select Widget, Choose Page field, and browse for the widget page you created and would like to add.
3. Once you have selected your widget, click the Choose button.
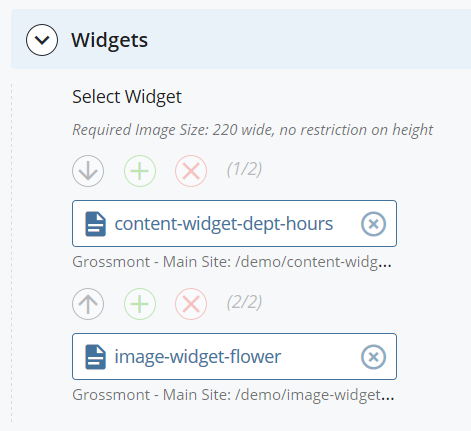
4. The display will show you how many widgets you have in your right column.
- You may add more than one widget. Simply select the green plus sign on the right hand side.
- To delete an accordion select the red X sign on the right hand side.
- You may also change the order in which your accordions will be displayed by selecting the up/down black move arrow.
5. Once you have completed adding widgets to your Right Sidebar, click Save and Preview.
6. After you have completed editing your page don’t forget to click Submit.
![]()
You will see the inserted widget content in the right sidebar.

7. When you are ready to publish your page, select the Publish button.
8800 Grossmont College Drive
El Cajon, California 92020
619-644-7010
Accessibility
Social Media Accounts


