Page Layouts
Select a Page Layout for additional instructions and features.
The Standard page template will be used for most web pages. This template offers many options to display your content
Note: some Standard Page features may not be available on the District and Intranet websites.
Standard Page with Sidebar - Demo
Standard Page with No Sidebar - Demo
Visual description of page options and features
Text description of page options and features
Instructions for Creating a Standard Page
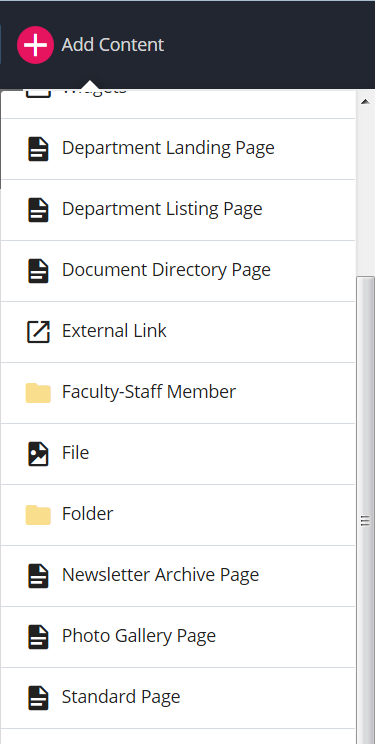
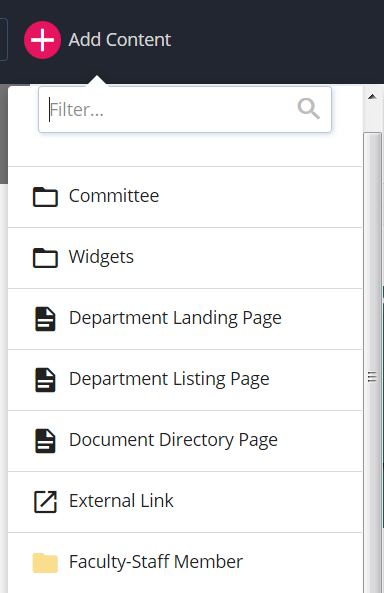
1. To create standard pages select Standard Page from the +Add Content menu.
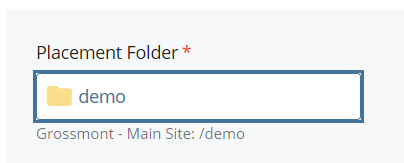
2. If necessary, select your Placement Folder. This is where the webpage will be stored. In the Choose a Folder window, find your folder, then click Choose. If you do not have a folder please see our other tutorials on how to create one.

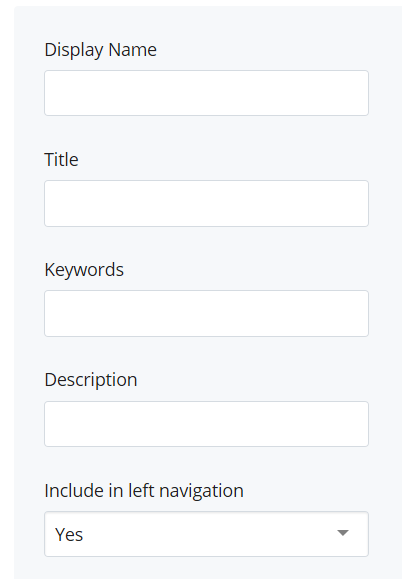
3. Fill in the Metadata fields. These fields are used by search engines to find and display a short summary about your page.
a. Display Name: this will show in the navigation area on the left side of the page if you choose. You will probably want to type this title in Title Case. You should not use any special characters in the Metadata fields.
b. Page Title: Shows on the browser tab and helps Search Engines like Google to find your page. Every page should have a unique Page Title. Start with the page name, which in the example below is ‘Degrees’, then a dash followed by the department name which is ‘Culinary Arts’, then a dash followed by ‘Career Technical Education (CTE)’, then a dash followed by ‘Grossmont College’. Put it all together and it looks like this:
Degrees – Culinary Arts – Career Technical Education (CTE) – Grossmont College
This way search engines can find your page using any combination of the words in this title and the browser tab will show the title of the current page.
c. Keywords (optional): these words will help a user find your page. Separate the keywords with a comma. For example, keywords might be – community college, your department name, any typical words that would be used when searching for this page
d. Description ( optional): this is a short summary. What words would you want Google or Yahoo to display when someone searches for your site?
e. Include in left navigation: this tells the system whether you want this title to show in the navigation area on the left side of the page.
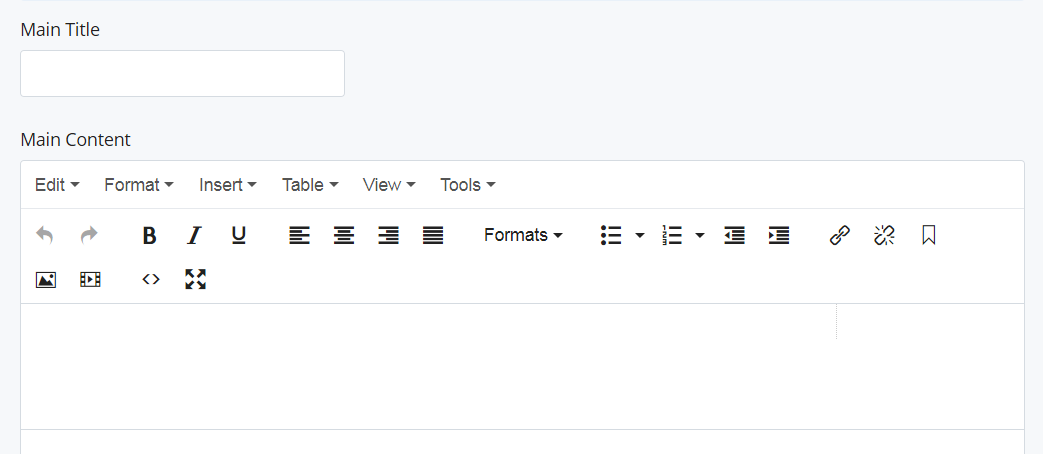
4. Enter your Main Title and Content.
5. The Standard Page Template offers various features that allow you to customize the page to your needs. For information on how to insert a particular kind of feature please see our other tutorials on the Special Features web page. Many of the features on the standard template are optional. You can use all of them or none of them to customize the page to your needs.
Note: Items marked with a red asterisk * are required.
6. Once you have completed editing your Standard Page, click Save & Preview.

7. After previewing your page, don’t forget to click Submit.
![]()
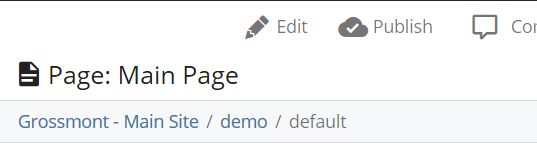
8. When you are ready to publish your page, select the Publish button.
The Faculty Intro page template is used as the landing page for Faculty sites. Contact your college website staff to set-up your initial website.
Visual description of page options and features
Text description of page options and features
Instructions for Creating a Faculty Intro Page
1. To create a Faculty Intro page your college web staff will first select Faculty Member from the +Add Content menu. This template creates a new folder AND a new Faculty Intro page at the same time.
2. Locate your folder (under People) and select your default page.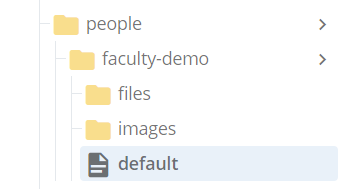
3. To edit your default page select the Edit button. Then fill out the contact information fields.

4. Select the Photo, Choose File field and locate or upload a personal image to be displayed in the main contact information area. Note: Do not click on Impact Image as this will not insert this photo in the appropriate area of the page.
Click on the Choose button to insert it into the edit area.

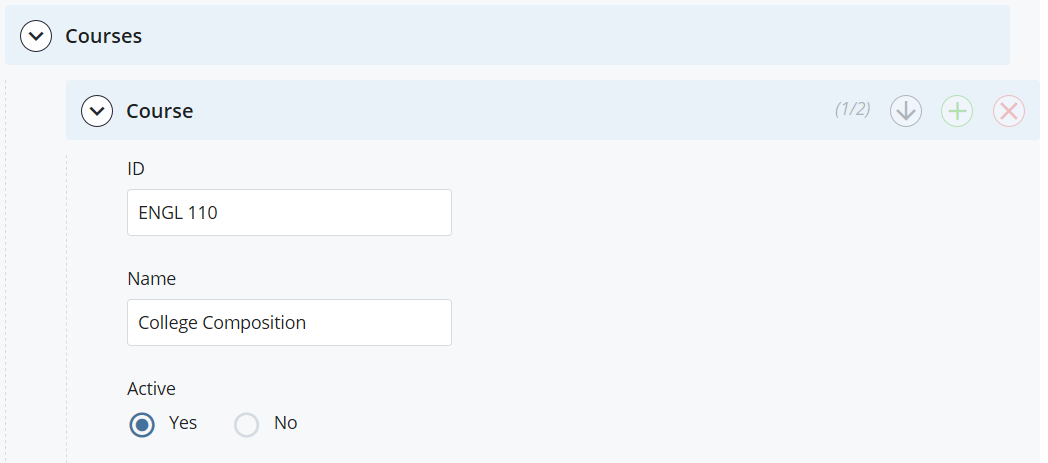
5. Click on Courses, then Course to open a course information window. Enter the course ID (eg: ENGL 110) and Name (eg: College Composition) information for any courses you are teaching. Adding content to Course Notes area is similar to adding content to the main section of your page. You can add text, images, links etc.
- You may add more than one course to your page. The courses will be displayed in an accordion style. Simply select the green plus sign on the right hand side.
- To delete an accordion select the red X sign on the right hand side.
- You may also change the order in which your accordions will be displayed by selecting the up/down black arrow.
6. You may also add Course Links to a Course Accordion. These can be links to another page on your site, a file or an external page.
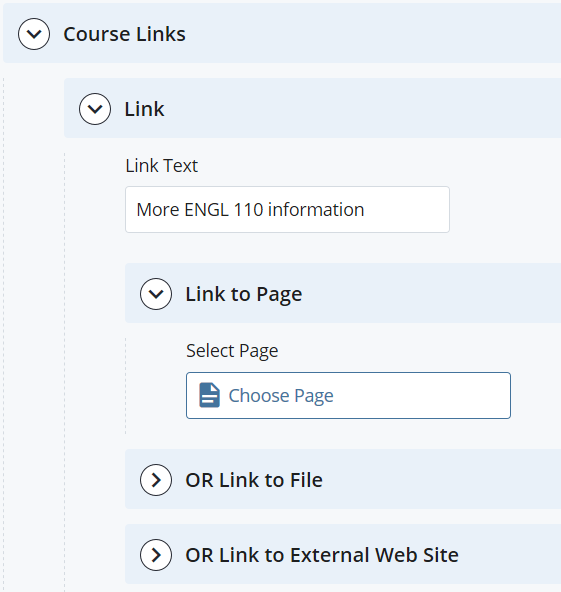
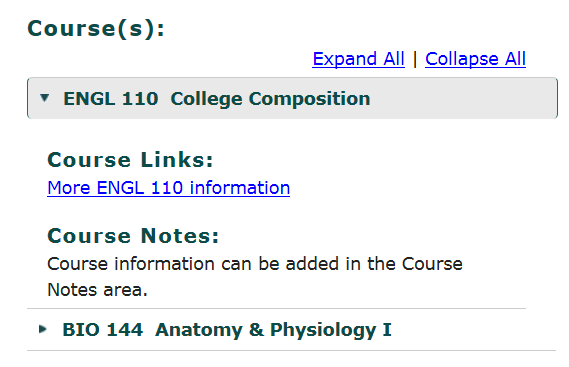
The course links will display in the open accordion with the text you entered displayed under the heading Course Links.
7. You may add any other content:
- Impact Image
- Instructor Content area, a short biography for example.
- Left Column
- Right Column with Widgets
- Last Updated Date.
For guidance on how to use these features, please see our other tutorials on the Special Features webpage.
8. Once you have completed editing your faculty intro, click Save & Preview.
9. If all is ok, don’t forget to click Submit.
![]()
10. When you are ready to publish your page, select the Publish button.
A Department Listing page provides a specialized template that allows you to display college department information. It can contain an optional faculty listing table as it is the page that the People, Faculty Intro page profiles link to.
Visual description of page options and features
Text description of page options and features
Instructions for Creating a Department Landing Page
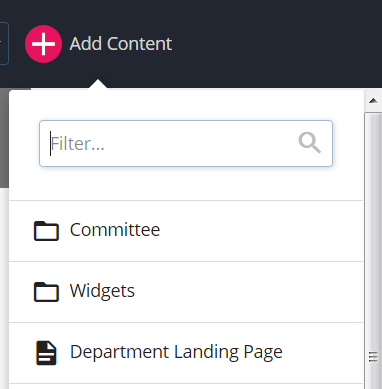
1. To add a Department Landing page select Department Landing Page from the +Add Content menu.
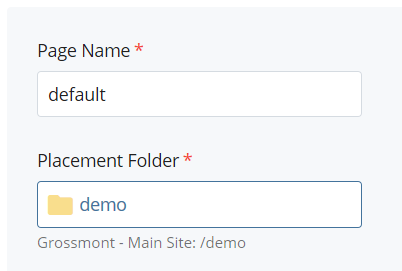
2. Type in a Page Name (usually default). If necessary, select your Placement Folder - this is where the webpage will be stored. In the Choose a Folder window, find your folder, then click Choose. If you do not have a folder please see our other tutorials on how to create one.
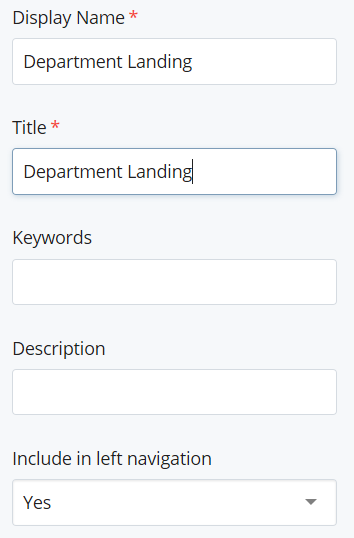
3. Fill in the Metadata fields. These fields are used by search engines to find and display a short summary about your page.
a. Display Name: this will show in the navigation area on the left side of the page if you choose. You will probably want to type this title in Title Case. You should not use any special characters in the Metadata fields.
b. Page Title: Shows on the browser tab and helps Search Engines like Google to find your page. Every page should have a unique Page Title. Start with the page name, which in the example below is ‘Newsletter’, then a dash followed by the department name which is ‘Culinary Arts’, then a dash followed by ‘Career Technical Education (CTE)’, then a dash followed by ‘Grossmont College’. Put it all together and it looks like:
Newsletter – Culinary Arts – Career Technical Education (CTE) – Grossmont College
This way search engines can find your page using any combination of the words in this title and the browser tab will show the title of the current page.
c. Keywords (optional): these words will help a user find your page. Separate the keywords with a comma. For example, keywords might be – community college, your department name, any typical words that would be used when searching for this page.
d. Description (optional): this is a short summary. What words would you want Google or Yahoo to display when someone searches for your site?
e. Include in left navigation: this tells the system whether you want this title to show in the navigation area on the left side of the page.
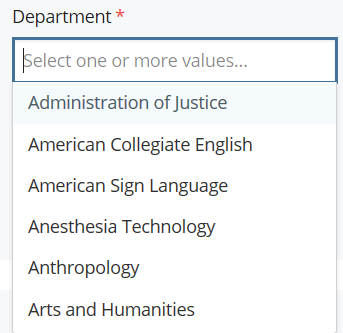
4. Select the Department. ONLY ONE Department Landing page in the college web site should be designated with this department!
5. Decide if you want the faculty for this department listed on the page. Check Display Faculty Listing as Yes if you do.
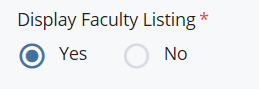
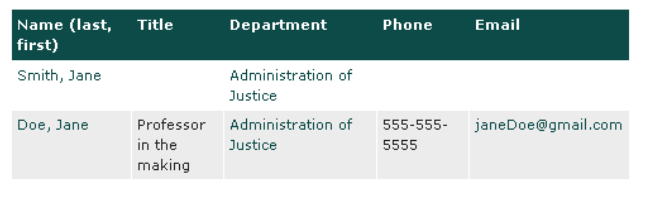
This field connects any faculty info web pages that have designated their department the same as this page. This section displays the faculty Names, Titles, Department, Phones, and Emails that were entered on the faculty intro pages.
6. You may then add an Impact Image, Main Content and any other features to your page. If you are unsure how to add or use these features please refer to our other tutorials.
7. Once you have completed editing your page, click Save & Preview.
8. Click Submit.
![]()
8. When you are ready to publish your page, select the Publish button.
A Newsletter Archive page provides a specialized template that allows you an easy way to organize your newsletter archives.
Visual description of page options and features
Text description of page options and features
Instructions for Creating a Newsletter Archive Page
1. Upload any newsletter issue and/or image files to your folder. Please see our other tutorials if you need details on adding files.
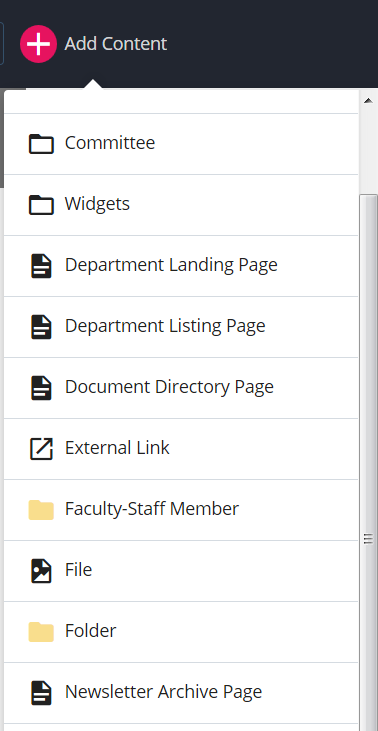
2. To create a newsletter page select Newsletter Archive Page from the +Add Content menu.
3. If necessary, select the Placement Folder field. This is where the webpage will be stored. In the Choose a Folder window, find your folder, then click Choose. If you do not have a folder please see our other tutorials on how to create one.
Once you find your folder click Choose. If you do not have a folder please see our other tutorials on how to create one.
4. Fill in the Metadata fields. These fields are used by search engines to find and display a short summary about your page.
a. Display Name: this will show in the navigation area on the left side of the page if you choose. You will probably want to type this title in Title Case. You should not use any special characters in the Metadata fields.
b. Page Title: Shows on the browser tab and helps Search Engines like Google to find your page. Every page should have a unique Page Title. Start with the page name, which in the example below is ‘Newsletter’, then a dash followed by the department name which is ‘Culinary Arts’, then a dash followed by ‘Career Technical Education (CTE)’, then a dash followed by ‘Grossmont College’. Put it all together and it looks like:
Newsletter – Culinary Arts – Career Technical Education (CTE) – Grossmont College
This way search engines can find your page using any combination of the words in this title and the browser tab will show the title of the current page.
c. Keywords (optional): these words will help a user find your page. Separate the keywords with a comma. For example, keywords might be – community college, your department name, any typical words that would be used when searching for this page.
d. Description ( optional): this is a short summary. What words would you want Google or Yahoo to display when someone searches for your site?
e. Include in left navigation: this tells the system whether you want this title to show in the navigation area on the left side of the page.
5. You can edit the features Impact Image and Left Column. Please see our other Special Features tutorials if you need details.
6. Enter a Main Title and any Main Content.
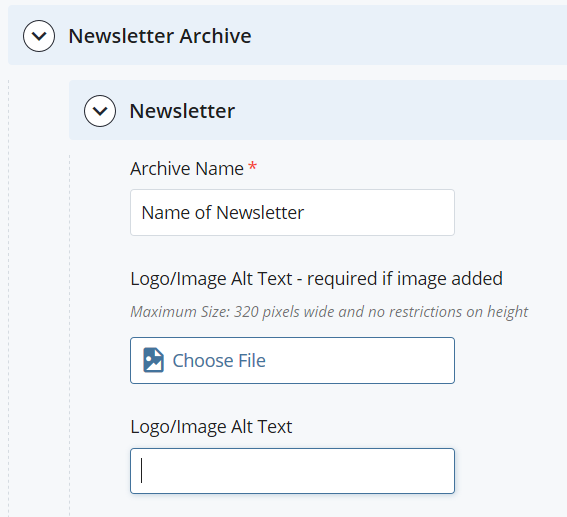
7. Select Newsletter Archive, Newsletter and type an Archive Name with the name of the newsletter.
Add an image if you wish by selecting the Logo/Image, Choose File field. Browse to select your image file and click the Choose button. Don’t forget to add the Logo/Image Alt Text (alternative text for users who cannot see the image).
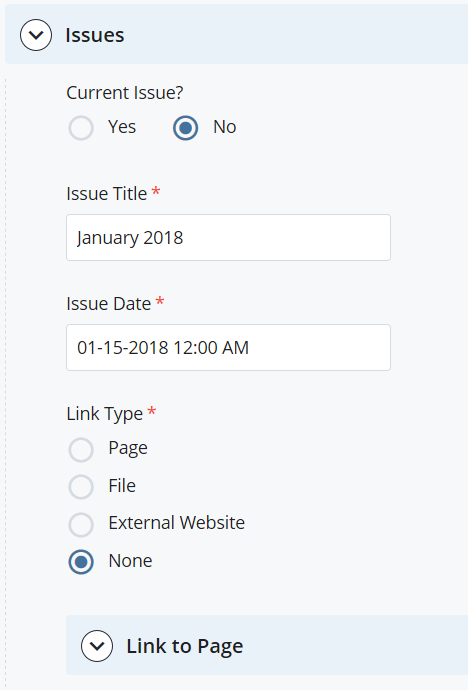
8. To add the individual issues of your newsletter, select Newsletter Archive, Newsletter, Issues.
Select Yes if this is your Current Issue. Enter the Issue Title. A calendar will drop down so you can select the Issue Date.
Add the issues of your newsletter by selecting the Link Type: Page, File, External Website and choosing a file OR by entering the URL of the page containing your archive.
9. The display will show you how many issues you have on your page.
- You may add more than one issues to your page. Simply select the green plus sign on the right hand side.
- To delete an issue, select the red X sign on the right hand side.
- You may also change the order in which your issues will be displayed by selecting the up/down black arrow.
![]()
10. Once you have completed adding your issues, click Save & Preview.
11. After you have completed editing your page don’t forget to click Submit.
![]()
12. When you are ready to publish your page, select the Publish button.
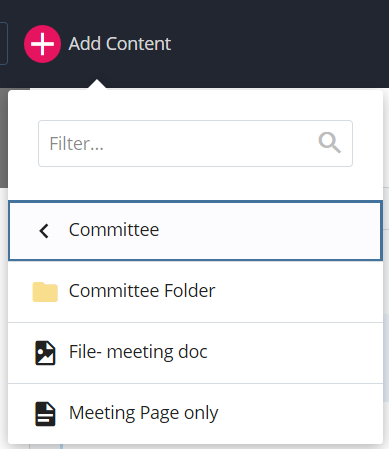
The Committee page templates are designed to easily enter committee information that is automatically formatted for you. You can click on the +Add Content, Committee menu to add:
- a complete Committee Folder (with main page, meeting page, and members page)
- or a Meeting Page only
- or a File – meeting doc (which will remind you to add a file title)
Committee Meeting web page Demo
Features on the Committee Meeting page:
- Tables are automatically formatted to meet accessibility standards and are sorted by each year and the most recent meeting date.
- Agendas and minutes are automatically listed under the appropriate columns.
- Supplemental meeting files will use the filename as the default display, or you can enter a title for those documents. The order in which the supplemental documents are listed is controlled by you.
Features on the Committee Members page:
- District and Grossmont: You can enter a list of Committee Members in the Main Content area.
- Cuyamaca: List of Committee Members will automatically show members from their main spreadsheet if the proper committee abbreviation is entered into the Main Title within parentheses.
Instructions for Creating Committee Meeting Pages only
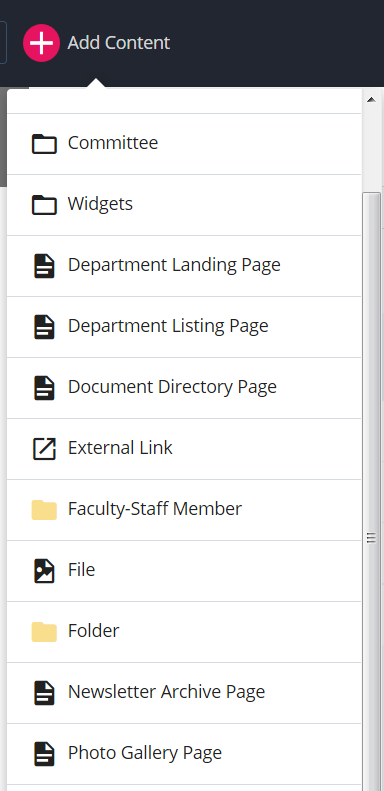
1. Click on the +Add Content, Committee menu to view options.
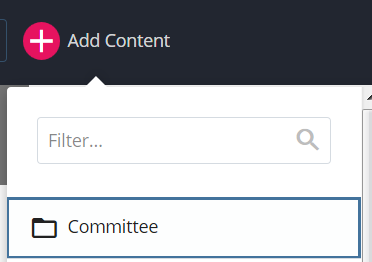
Select Meeting Page only.
2. Fill in the Page Name (usually 'meetings' or 'meetings-year').
If necessary, select the Placement Folder field. This is where the webpage will be stored.
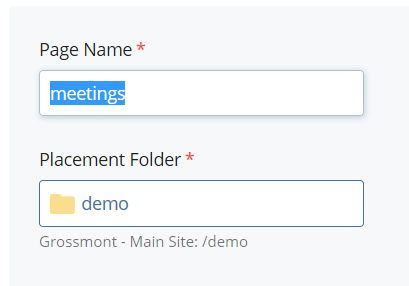
If you are changing the Placement Folder, find your folder in the Choose a Folder window, then click Choose. If you do not have a folder please see our other tutorials on how to create one.
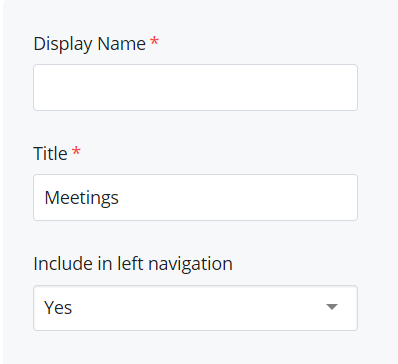
3. Fill in additional fields.
a. Display Name (colleges only): this will show in the navigation area on the left side of the page if you choose. It will also show in the breadcrumbs. You will probably want to type this in Title Case.
b. Title
(colleges only): shows on the browser tab and helps Search Engines like Google to find your page. Every page should have a unique Title.
(District and Intranet only): this will show in the navigation area on the left side of the page if you choose. It will also show in the breadcrumbs. You will probably want to type this in Title Case.
c. Include in left navigation: this tells the system whether you want this title to show in the navigation area on the left side of the page.
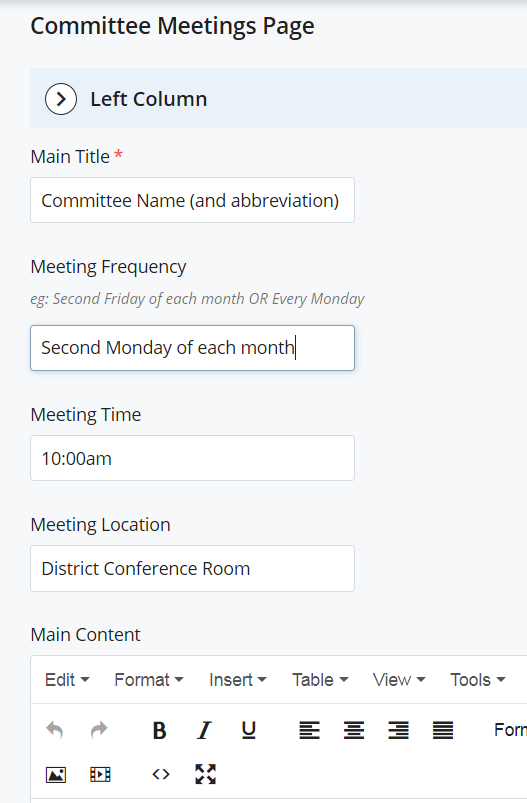
4. Enter information about the meetings: Main Title (Committee Name), Meeting Frequency, Meeting Time, Meeting Location, and Main Content for the page.
5. Add the Meeting Details. A calendar will drop down when you select the Meeting Date. Attach the optional Agenda, Minutes, and add a Note if desired. The Note field will be displayed at the top of the Documents column in the table.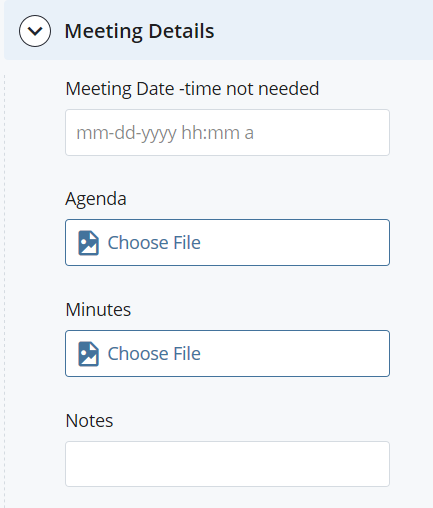
6. The display will show you how many Meeting Details you have on your page.
- You may add more than one meeting. Simply select the green plus sign on the right hand side.
- To delete a meeting, select the red X sign on the right hand side.
- Meetings will be automatically sorted according to the meeting date, but you may change the order in which they are displayed in the Edit window by selecting the up/down black arrow.
![]()
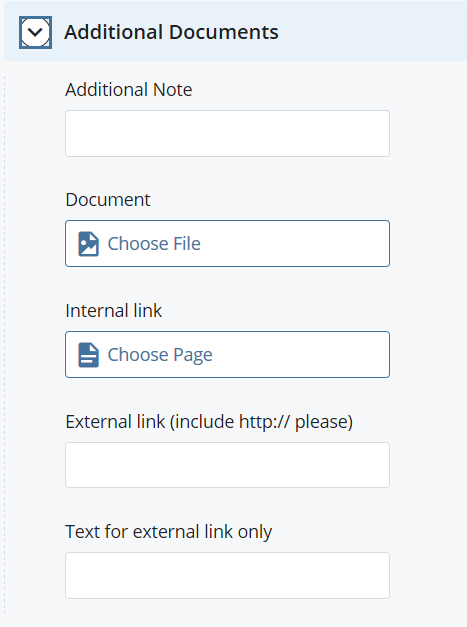
7. Attach any Additional Notes or Documents. You can also add Internal or External Links. Document links will be displayed as the filename. However, if you prefer, you can add a Title on the uploaded document itself and that will display as the link instead. For External links, you can type in the Text for external link only.
8. The display will show you how many additional notes and documents you have on your page.
- You may add more than one note or document to your meeting date. Simply select the green plus sign on the right hand side.
- To delete a note or document, select the red X sign on the right hand side.
- You may also change the order in which your notes or documents will be displayed by selecting the up/down black arrow.
![]()
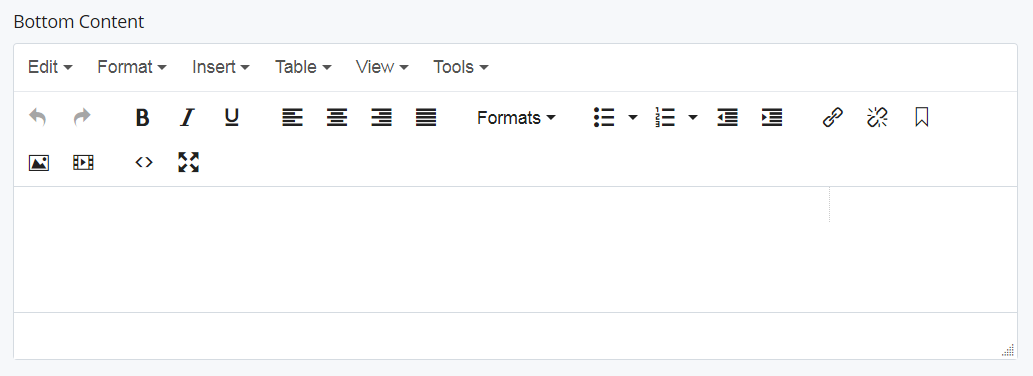
9. You can add more Bottom Content to be displayed below the meeting information.
![]()
10. Once you have completed adding your meetings, click Save & Preview.
11. After you have completed editing your page don’t forget to click Submit.
![]()
12. When you are ready to publish your page, select the Publish button.
The Photo Gallery page template allows you to display a series of images in a slideshow. Images display best if the size is 680 pixels wide by 450 pixels high.
Instructions for Creating a Photo Gallery Page
1. Upload any image files to your folder. It is best practice to use a separate folder for your photos. Please see our other tutorials if you need details on adding files.
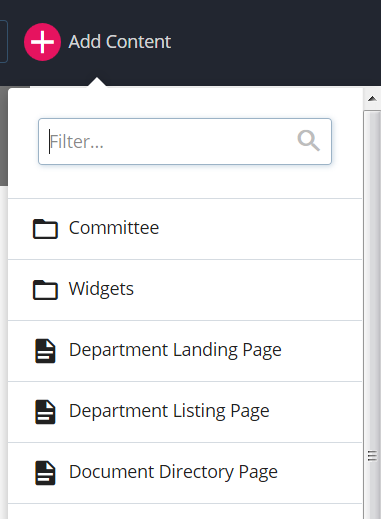
2. To create a Photo Gallery page select Photo Gallery Page from the +Add Content menu.
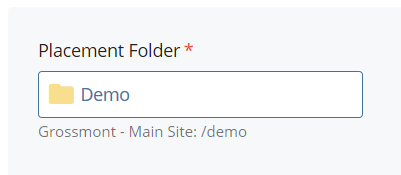
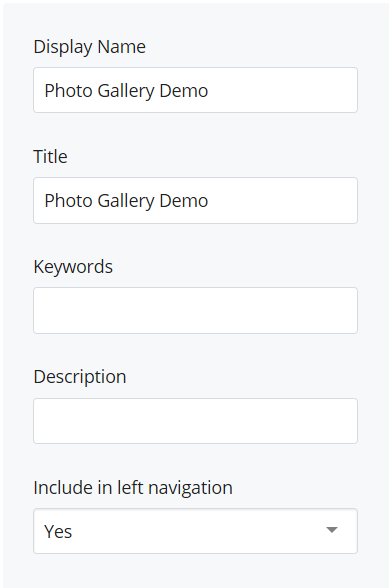
3. Select your Placement Folder if necessary; enter the page Display Name and Title.
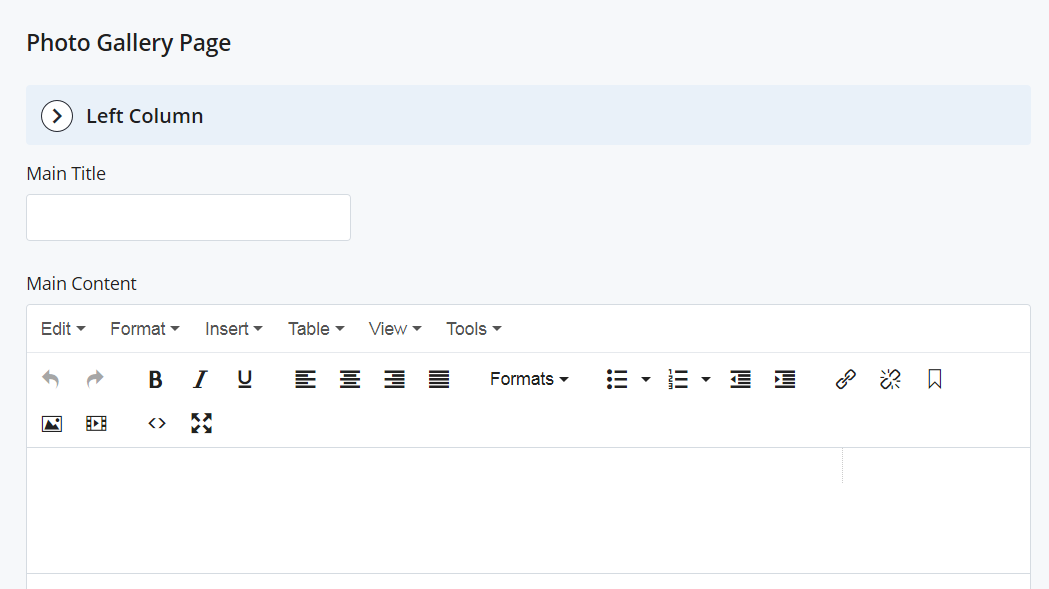
4. You can add a Main Title and any content you would like to display on your page. You may enter information into the Main Content field, this is optional.
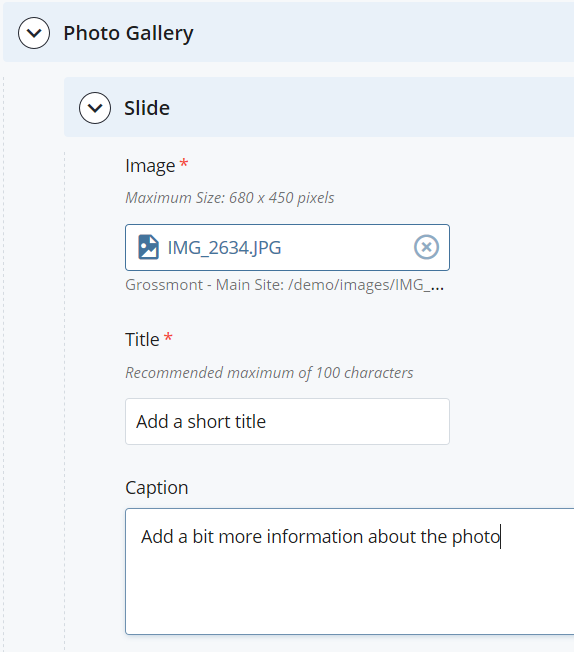
5. To add photos to your gallery, select the Photo Gallery, Slide, Image, Choose File field and find the photo you wish to add.
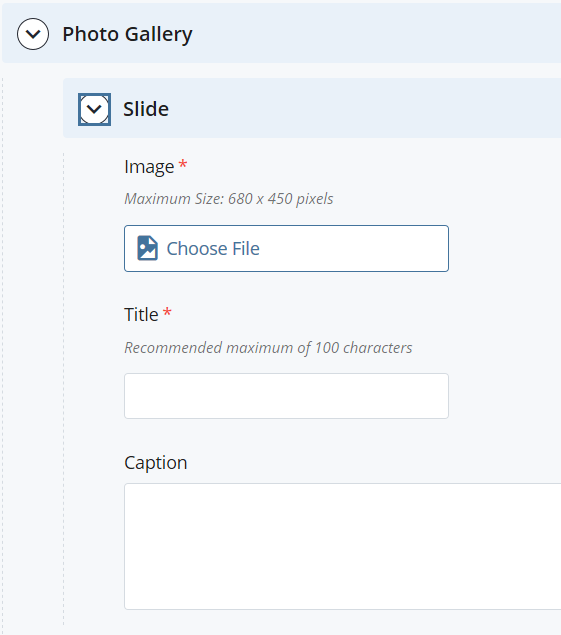
6. Enter a short Title for the image. You can enter a longer description in the Caption field which is optional.
7. The display will show you how many slides you have in your photo gallery page.
- You may add more than one slide to your gallery. Simply select the green plus sign on the right hand side.
- To delete a slide, select the red X sign on the right hand side.
- You may also change the order in which your slides will be displayed by selecting the up/down black arrow.
![]()
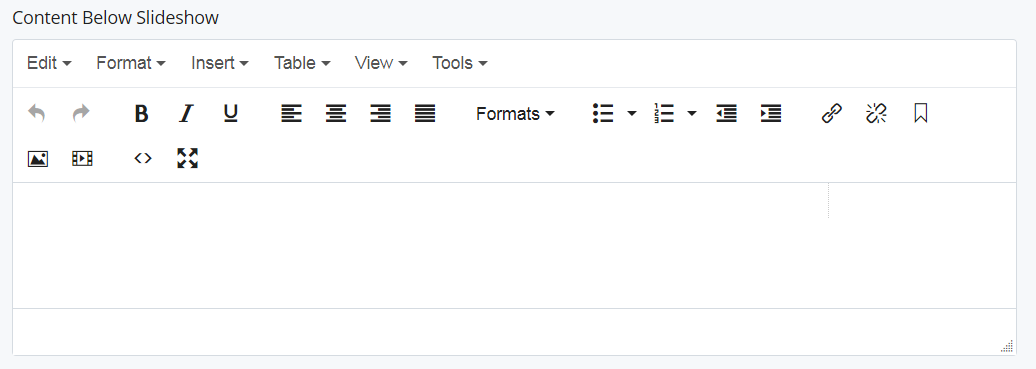
8. You may also add Content Below Slideshow (this is optional).
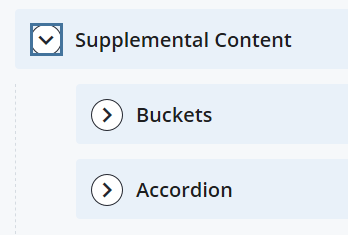
8. Supplemental Content of Buckets and Accordions fields can be added. Please see our special feature tutorials for instructions on these options.
9. Once you have completed adding your slides, click Save & Preview.
10. After you have completed editing your page don’t forget to click Submit.
![]()
11. When you are ready to publish your page, select the Publish button.
9. Your photos should display on your page. You may view them by selecting the image you wish to view in the slides underneath the current image.
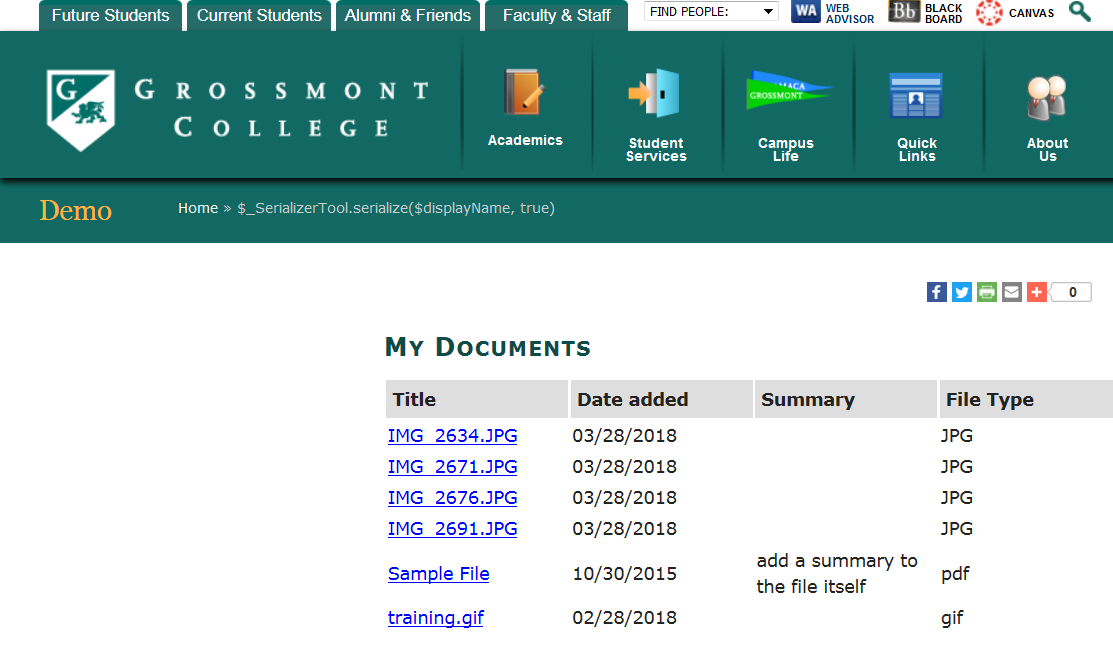
The Document Directory page will automatically index all files within a specific folder, and display those files in the list. The directory will display the file’s Title, Date Added, Summary, and File Type.
Instructions for Creating a Document Directory Page
Below are instructions for creating a Document Directory page. There are three parts:
- Adding or selecting a folder for the Document Directory
- Adding a Document Directory Page
- Tagging files to be included in the list
Part 1: Add or select a folder for the Document Directory
Select the folder in which to place the Document Directory. In the Choose a Folder window, find your folder, then click Choose. If you do not have a folder please see our other tutorials on how to create one.
Part 2: Add the Document Directory Page
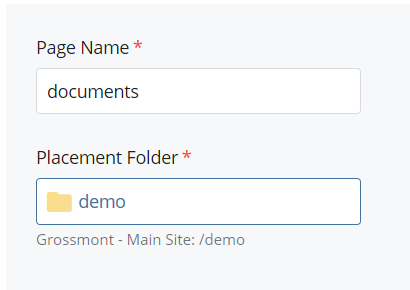
1. From the +Add Content menu, select Document Directory Page and add the new page to your document folder:
2. Select your Placement Folder if necessary; then enter the the page Display Name and Title.
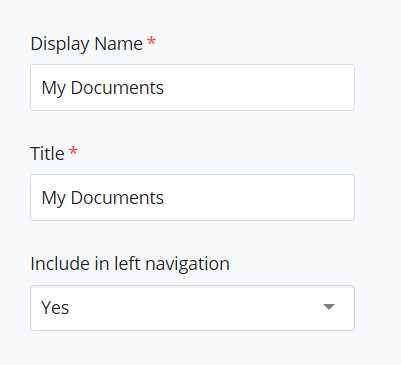
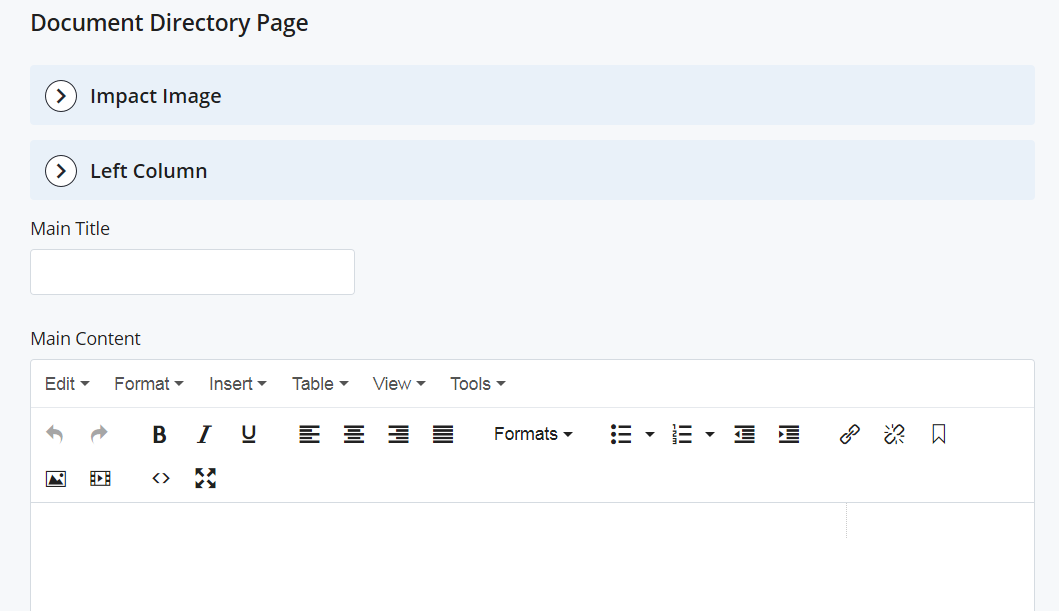
3. You can add a Main Title and any content you would like to display on your page. You may enter information into the Main Content field, this is optional.
4. Once you have filled in the fields, click Save & Preview.
5. After you have completed editing your page don’t forget to click Submit.
![]()
6. When you are ready to publish your page, select the Publish button. You may want to wait to publish until you have tagged the files you want to display in the directory.
Part 3: Tagging the Files in the Document Directory
1. Upload the file(s) to the document directory folder. If you are not sure how to upload files, please see our other tutorials on how to create one.
2. To tag the files, select a file and click the Edit button (note: the following steps can also be done while uploading a single file).
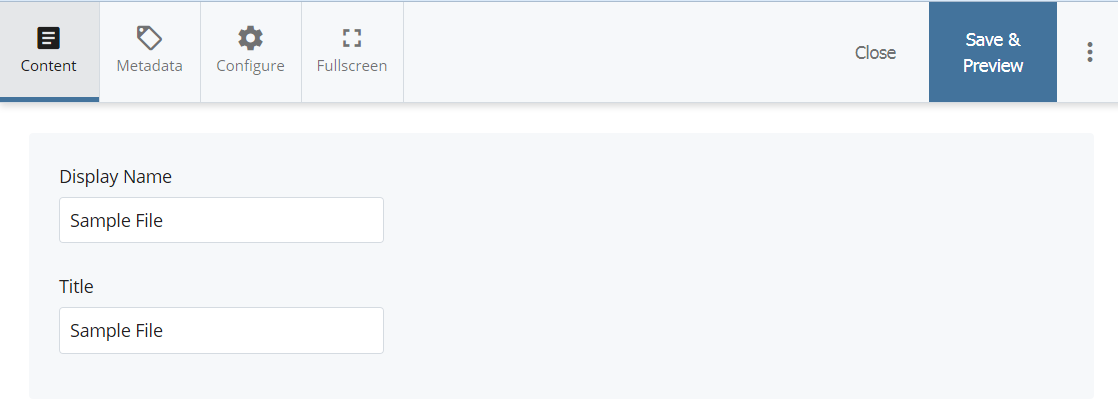
3. With the Content button selected, you can change the Display Name and Title of the document if you wish. The Title will display in the document list. If you do not enter a Title, the document list will display the filename instead.
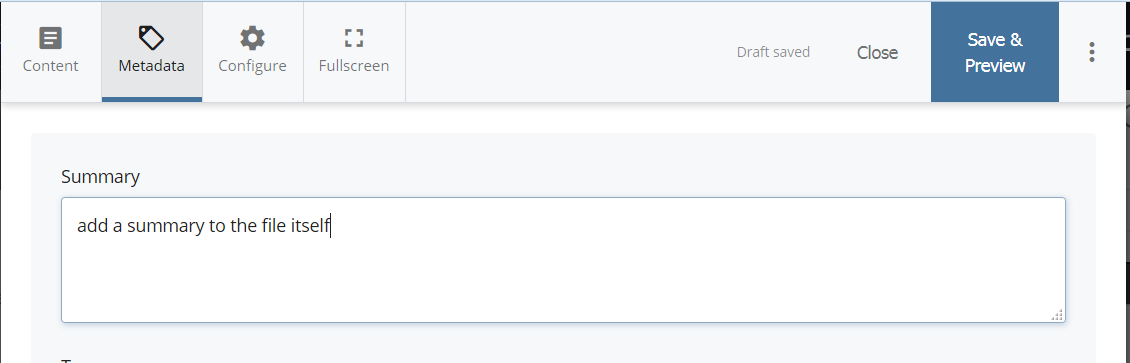
4. Select the Metadata button. Add a Summary. This is a short description of the document.
5. Once you have completed editing your fields, click Save & Preview.
6. After you have completed editing your file, don’t forget to click Submit.
![]()
7. When you are ready to publish your file, select the Publish button. Then publish the Document Directory Page that you created.

The completed Document Directory Page will display the list of files with the Titles (or filename), the Date Added, the Summary, and the File Type.
These folders are set up to automatically post items such as NEWS, EVENTS, and MESSAGES.
If you maintain these web sites, create a page using the appropriate News Article, Message, or Sidebar News page. Make sure you place the page in the right folder.
For pages, create a page, selecting on the menu New, News, and the appropriate page type.
Add your Metadata, and the news content.
Click Submit.
Don’t forget to publish your new page. For these pages, you will probably publish the entire News/Events/Messages web site. For News and Events, you will need to publish the main default page also.
6. Once you have completed adding your image, click Save & Preview.
7. After you have completed editing your page don’t forget to click Submit.
![]()
8. When you are ready to publish your page, select the Publish button.
8800 Grossmont College Drive
El Cajon, California 92020
619-644-7010
Accessibility
Social Media Accounts


